Prerequisites
You have been assigned the user role of Operator, Manager, or Admin.Steps
A vault is a collection of wallets sharing the same root extended private key. A default vault will be created for you automatically. You need to create your Main Key to complete the setup. If you need to create additional vaults, follow these steps:- Log in to Cobo Portal.
- Click
 next to your default vault.

- In the pop-up dialog, click Return to Vault List.
- Click Create Vault in the upper right corner.
- Enter a name for your new vault. You can also set the vault as the default vault.
- Click Create.
Next steps
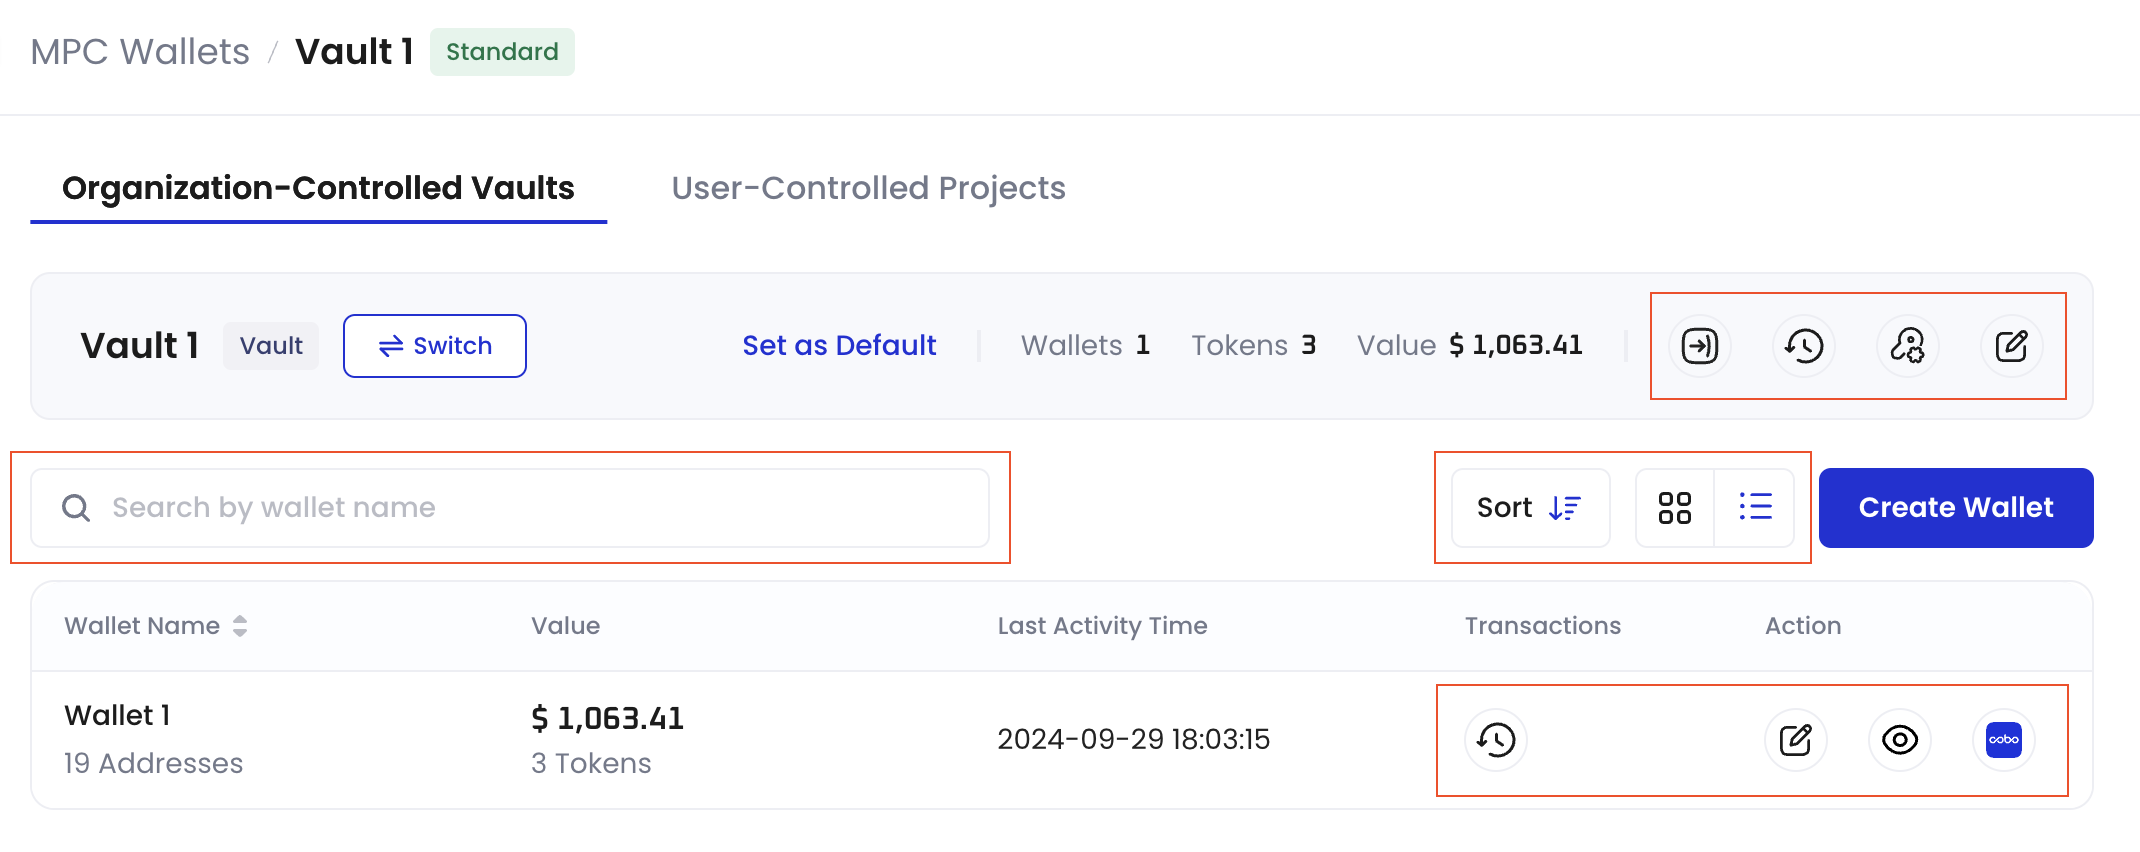
After creating a vault, you can:- Set it as the default vault.
- Modify the name of your vault.
- Export details such as the list of addresses under your vault and their corresponding balances. The button will be visible only after the successful creation of the Main Key.
- View all transactions associated with your vault. The button will be visible only after the successful creation of the Main Key.
- View root extended public keys associated with each vault. Manage the Main Key, Signing Keys, and Recovery Keys. For more information, see Manage private keys.
- Search for a wallet in the vault by wallet name.
- Sort the wallets in the vault by created time.
- Switch the vault display between grid view and list view.