We recommend using WalletConnect whenever possible for better multi-chain support and overall user experience. Cobo Connect will be gradually phased out based on actual usage and will remain available during the transition period.
Install Cobo Connect
- On the Cobo Connect extension page, click Add to Chrome.
- Read the information in the pop-up window and click Add extension if you agree to the terms.
- Disable other wallet extensions as suggested, then click Continue.
- Create and confirm the password for Cobo Connect, then click Continue.
- Follow the on-screen instructions and pin the extension for easier access, then click Continue.
Import wallet addresses into Cobo Connect
Currently, you can import addresses of MPC Wallets created under Organization-Controlled Vaults, Web3 Wallets, and Smart Contract Wallets. Cobo Connect supports only EVM networks, so ensure that the addresses you import are compatible with EVM networks.
-
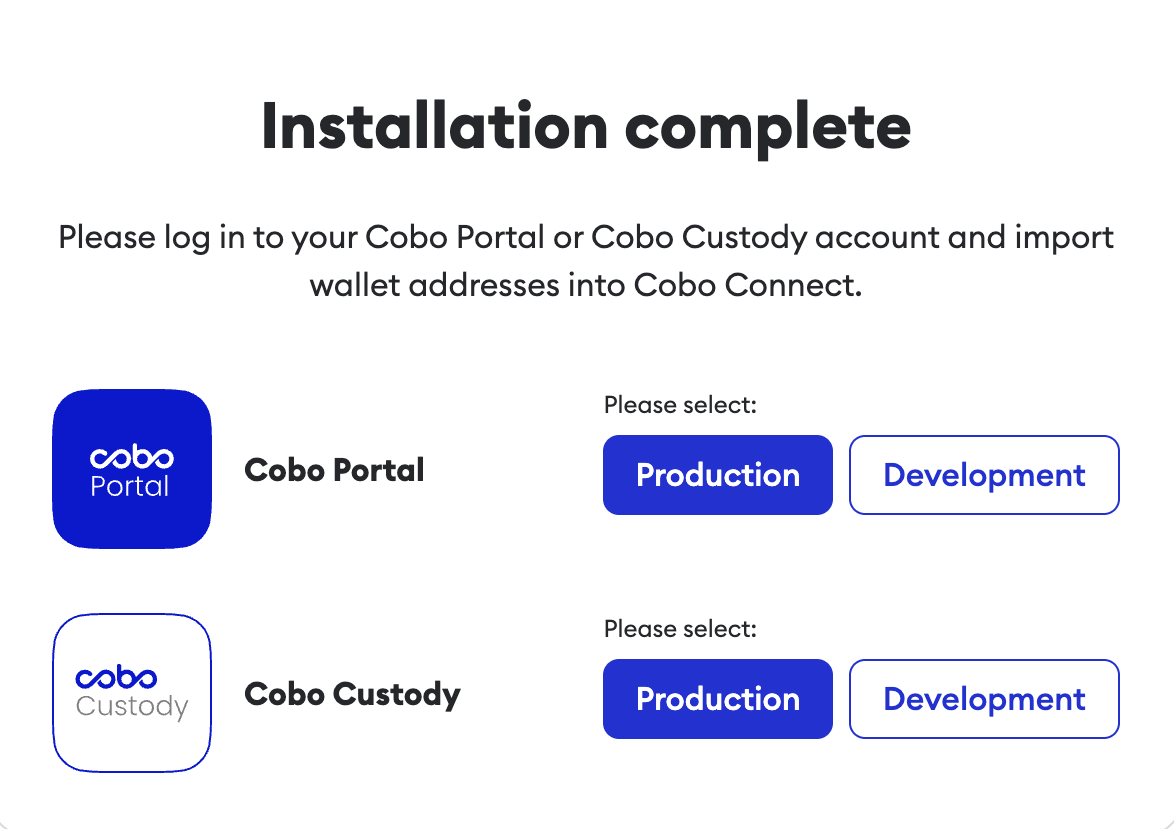
After the Cobo Connect extension is installed, select the Cobo Portal environment that you want to use to import wallet addresses.

-
After selecting the environment and logging in, you will be redirected to the MPC Wallets page in your selected environment (for example, Cobo Portal production environment).
- To import MPC Wallet addresses, select a vault to proceed.
- To import Smart Contract Wallet addresses, go to the Smart Contract Wallets page first.
- To import Web3 Wallet addresses, go to the Custodial Wallets page and select the Web3 Wallets tab.
-
For MPC Wallets and Web3 Wallets, click
next to the wallet you want to import addresses from. For Smart Contract Wallets, click
, then click
. In the pop-up window, click Allow to confirm connection to Cobo Portal.

- Select the wallet addresses that you want to import, then click Connect.
- On the confirmation page, click Confirm.
